Leather treatment/conditioning is a big automotive detailing fad. In cars built in possibly 1990s, and definitely 2000s and beyond, all automotive leather have a clear coat (read: plastic) applied to a treated, dyed and artificially textured leather. The clear coat makes the leather water proof, otherwise the leather would have stained when it comes into contact with water and sweat. If you have uncoated leather products (bags, wallets, etc.) you will know what I mean.
The only exception is if you have a vintage car, or a really premium leather in an expensive car. AFAIK, even the leather in Rolls Royce are treated the same way.
There’s no need to spend good money on leather treatment/conditioners. Some leather “conditioners” offer UV protection which may help prevent light coloured leather from discolouration, but it is likely a waste of money.
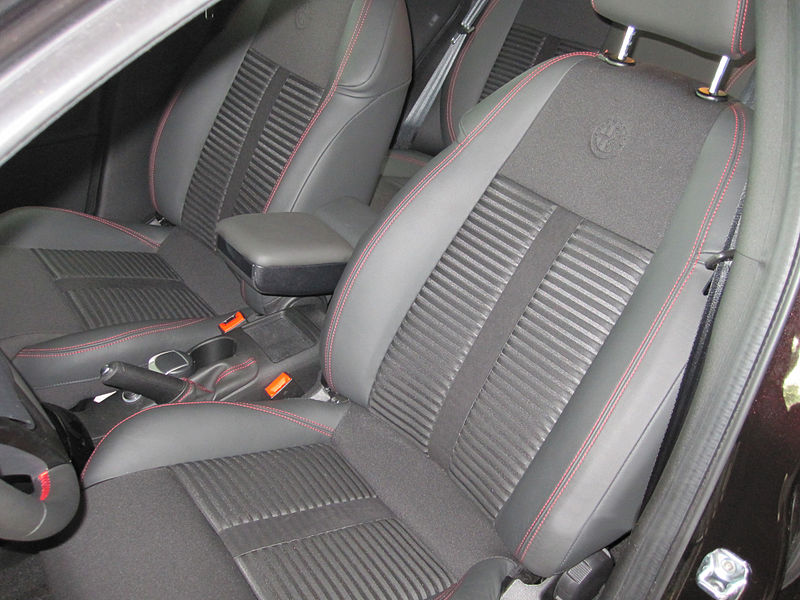
Apart from long term wear and tear, the reason why leather in our cars crack and fade is largely because of poor care/maintenance. Not regularly vacuuming and cleaning the leather causes dirt and sweat (acidic) to accumulate and abrade/damage the clear coat. Once the clear coat is gone, the exposed leather underneath is left to face the environment and deteriorates quickly.
How should automotive leather be cleaned
You’ll need:
- Two pails – one for soapy water, one for clean water.
- A vacuum cleaner.
- A bar soap. You can also use hand soap, etc. but so far Dettol bar soap works best for me.
- Two cloths. One wet, one dry.
- A brush. I use the Kiwi Shoe Brush (used for leather shoes — Army guys should be familiar with this).
Steps:
- Vacuum to remove dirt, especially between the creases. Dirt is abrasive, so you really want to get as much out as possible.
- Prepare a bar soap, water and a brush in the 1st pail. Wet your hands and rub some soap on your palm, then apply the soapy mix on your seats and start brushing!
- It is important to clean one section at a time, e.g. start with the seat bottom, then proceed to seat bolsters, then proceed to seat back. Never let the dirty soapy water dry on the leather.
- With clean water in the 2nd pail, wet a cloth, twist it so it is damp and not dripping wet, then wipe away the soapy mix. You will be surprised how dirty the cloth is. Rinse and repeat until you’ve gotten soapy water off the seat.
- Continue cleaning the rest of the seat until you have covered the entire seat. Do a final wipe down using cloth with clean water, then dry seat with another cloth.
Extra tip: Do NOT use the brush on the steering wheel. Steering wheel leather is more delicate. Simply apply soapy water and use a cloth to wipe it down. Do this several times.
What if my leather is already worn/cracked?
Never, ever have your leather filled and resprayed. Sanding down the leather to prepare for filling and respray effectively removes the protective top coat. Leather usually cracks at the areas where it sees the most abrasion, e.g. seat bolsters, steering wheels, gear shifters. Filling and respraying in those areas will only last a short while, and once the paint wears off it will reveal the filler — usually white in color and that is really ugly.
The only way, unfortunately, is to get the leather replaced.