Update: 2020/12/01 for macOS Big Sur, please follow instructions here.
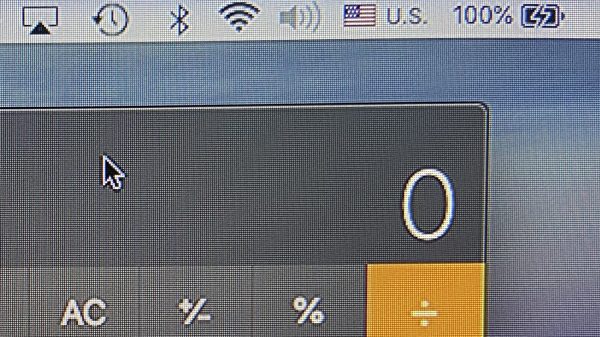
If you have a MacBook, iMac, or Mac mini and use a HDMI cable to connect to a Dell monitor, you may notice that the image seemed over-processed as if it was over-sharpened – I noticed this when I connected my MacBook Pro to my Dell U2913WM.
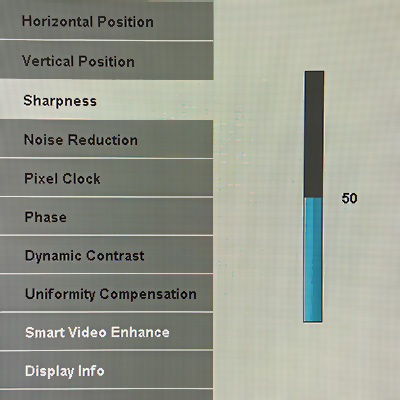
I found a setting in the monitor to turn the sharpness down from the default 50 to 0. It improved the image quality some, but when I switched back to my Mac mini (which was connected via DisplayPort), the quality was still better.
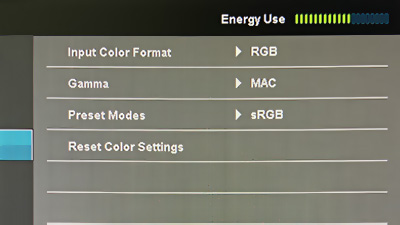
It turns out that this is caused by the Mac sending video signals as YPbPr (component) instead of RGB. This can be seen in the Color Settings menu.
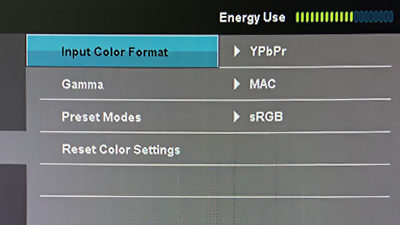
Why does this happen? When a HDMI display is connected, the display’s capabilities are negotiated using what is known as an EDID. For some reason, Apple/Mac decided to default to YPbPr, and there’s no way for us to select/force RGB.
I found this blog, which also took a reference from another blog comment. TL;DR, download a small Ruby script and run it. The details are in those blogs, but I’m just writing it here for my own future reference.
Steps:
- Run the Ruby script. It will generate a folder with a file, e.g.
DisplayVendorID-10ac/DisplayProductID-4080 - Reboot your Mac in recovery mode (hold down Command+R)
- Copy the file to
/Volumes/Macintosh\ HD/System/Library/Displays/Contents/Resources/Overrides - If the folder exists, copy the file into the folder.
- If the folder doesn’t exist, copy the entire folder.
- If the file already exists, make a backup before overwriting it.
- Reboot, and reconnect your display.
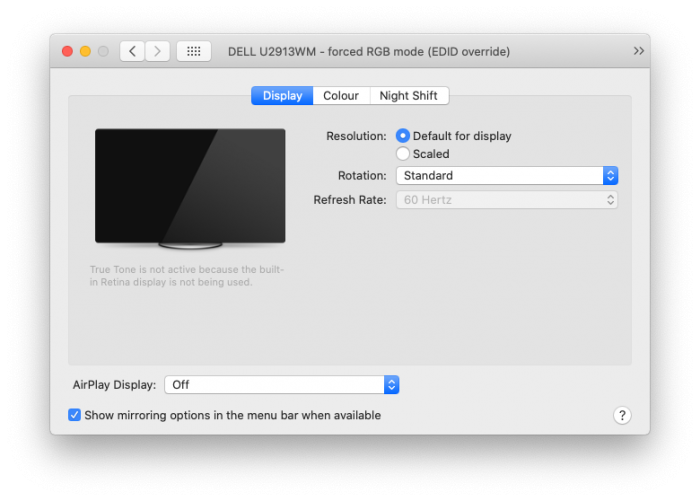
The difference is immediately noticeable. (I also had to restore my sharpness back to default: 50.)