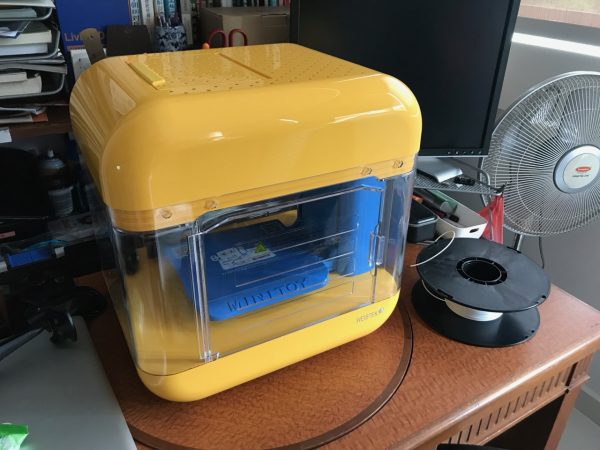
I bought a MiniToy 3D printer a month ago (June 2019) from an online seller. This printer was part of a Kickstarter Campaign in 2016 and delivered early 2017. I believe the seller bought it and didn’t know what to do with it and kept it in the box for 2+ years.
I did not do much research before I bought the printer, thinking I could maybe do something fun at home with the kids. Boy was I in for a ride.
In case you are looking for the specs of this printer (and I spent time looking for detailed information and it is no where to be found, not even on the manufacturer’s website which only has basic info) here it is: –
- Technology: FDM
- Extruder: Direct extrusion, 0.4mm
- Auto bed-levelling: Yes, on each print
- Print volume: 170 x 130 x 140 mm
- Print speed: 40 to 150 mm/s
- Layer resolution: 0.1 – 0.2 mm (other site states 0.15 – 0.3 mm, not sure which is correct)
- Max. temperature: 250 degrees C*
- Filament: 1.75mm (non-proprietary)
- Heated bed: No
- Enclosure: Yes
- Data interface: Wifi, SD card
- External dimensions: 375 x 305 x 375 mm
* I made this up because I didn’t print beyond 250 deg C
Back in 2016, this printer might have been quite state-of-the-art. But as of 2019, you can get better 3D printers for the retail price (US$299) of the MiniToy.
This is not my first 3D printer; I already have a Creality Ender 3 which I assembled from a kit last year. Having experience with assembly, troubleshooting, and also having some spare filament and tools, getting the MiniToy printer set up was OK, but if I was a complete newbie, this printer would have been a nightmare.
Initial issues
If you’re not keen on reading the setup issues, skip straight to the next section on “Hacking” the MiniToy”!
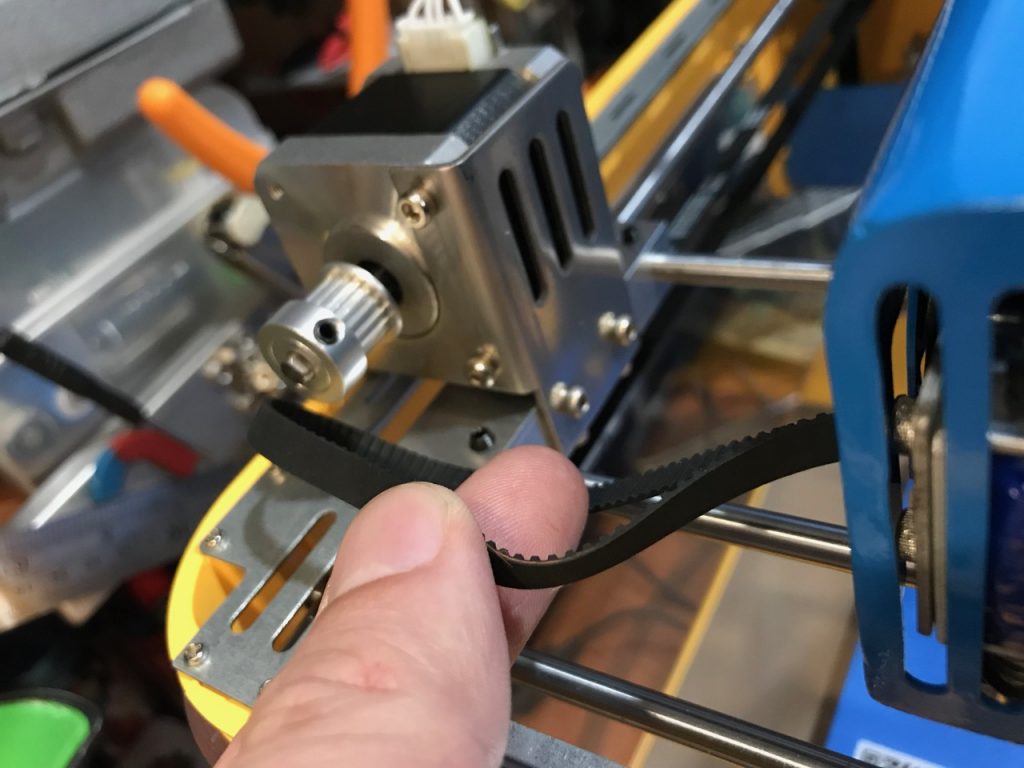
Dangling belt. When I first unboxed the printer, I found the Y axis belt dangling off the roller. This was caused by a poorly designed metal bracket holding the Y stepper motor. The bracket probably bent during shipment, or after two years in storage under belt tension. This turns out to be a common issue as some has reported in a forum thread.
The fix for this is to bend the metal bracket back so that it sits straight.
Dumbest power button, ever. This totally annoys me. They used a light-sensor as a power button! So whenever you wave something too close to the power “button” (sensor) on the left of the printer, it powers on or beeps (if it is already on). It is so fucking annoying because I regularly place things beside the printer and then it emits a loud beep and turns on. I have not actually tested if it would actually turn OFF while printing because you have to hold your finger for maybe 1-2 full seconds to turn it off. Because of this, I usually unplug the printer after use.
SD card slots upside-down. Do not follow the diagram on the side of the printer – you will most certainly jam your SD card or break the slot. The card goes in upside down, i.e. the label on the SD card faces down and the metal pins faces up.
Disintegrating filaments. I also found that the filaments that came with the printer had turned so brittle they were completely unusable even though I had just removed them from their vacuum-sealed bag. The filaments would break into multiple bits while you feed into the printer, and would require me to remove the feed tube that leads to the print head to remove the broken bits. I presume it was because they had been sitting for two years. Of course the fix for this would be to use a new roll of filament – I used my existing HatchBox filament which I bought from Amazon.
Useless plastic scraper. It comes with a plastic scraper that will NOT get anything off. Do yourself a favour and buy a metal paint scraper.
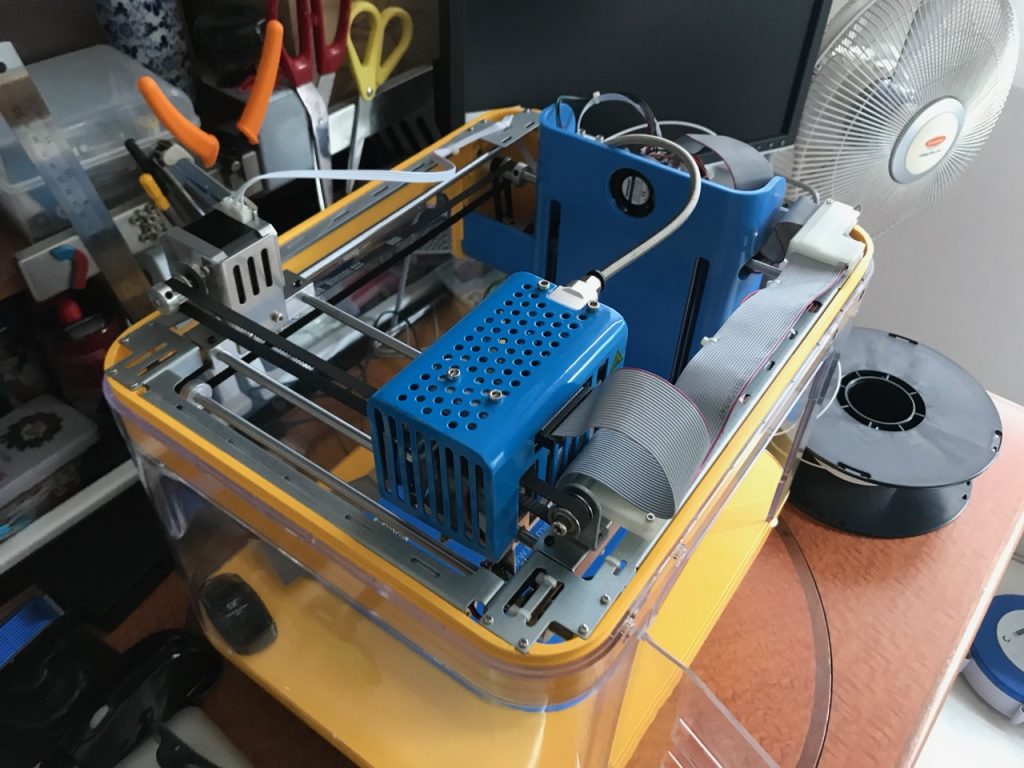
Fan noise. Yes this printer makes quite a bit of noise from the fans, even at idle! I am not sure why it would need to run fans at high rpm when doing nothing. Then there is the print cooling fan – it rubs. There is a very very tiny screw that is meant to simply position the fan, not tighten it down, and any slight amount of torque on that screw would break the fan bracket and then it would rattle in the blue housing.
Crappy app is the only app. This printer can only be accessed through the app, although I may have found a way to bypass it – more on this later. To get to the printer, you will have to download the app, then connect your phone to the printer’s wifi network (MiniToy_xxxx) with password 12345678.
The app is clunky to use and looks one-off. You can upload your own .gcode files to the SD card, but you will still need to use the app to print it. Another blog actually documented the process to print your own .gcode files.
Calibration, or mis-calibration? The app has a calibration function and I do not understand how it works. As with most Chinese made software, the English instruction/description sucks. It took a bit of fiddling – or I would actually say guesswork – to find the correct setting.
- How I thought it works: For some reason during the calibration process it raises the bed and then leaves a super wide gap from the print head. I thought what I needed to do was to get the bed to almost touch the print head with a “paper-thin gap” – similar to how I would have done a manual bed levelling for my Ender 3 – but when I did that, the printer was slamming the print bed into the head.
- How it actually works, after lots of agony: You basically let it do it’s thing, save, and then go do a test print. If the print does not stick well because it’s too far from the bed, redo the calibration, raise the bed 0.1 mm and retry print. If the print head seems to be rubbing on the print bed, then redo calibration and lower the bed by 0.1 mm and retry print. It’s a slow and painful process.
Auto bed-levelling accuracy. Once I started printing, I also found that the auto bed-levelling measured one quadrant of the bed 0.1mm too high so my prints do not seem to stick in that area (this is where manual bed levelling may be better). Turns out this was because the bed-levelling mechanism had some free play in it which is resolved by tightening some nuts, straightening a slightly bent piece of metal for the arm holding the switch/sensor and maybe adding a bit of tape to the base of the print bed.
What’s with all the bent metal?
“Hacking” the MiniToy
I refrain from using the word “hacking” because I don’t think this is really hacking, but you know – buzzwords gets clicks.
Naturally, I got fed up with the crappy app, so I wanted to find out if I could interface directly with the MiniToy from a computer, or print from something like OctoPrint. Here are few discoveries I have made.
TCP port 8888 – serial interface. I found this by capturing packets from my iPhone to the printer, and saw that the app communicated with the printer on port 8888. The data stream looked like raw serial commands. I believe it is highly possible to send gcode to this port to get the printer to print directly without depending on the SD card. I have yet to test sending a print through this port; however I would also like to highlight that this port is unauthenticated, and since the wifi password is also standard and can not be changed by the normal user, this is actually a security risk, i.e. anybody within wireless range can hijack your printer, and can, for example, cause a fire by overheating your printer.
… this is actually a security risk, i.e. anybody within wireless range can hijack your printer, and can, for example, cause a fire by overheating your printer.
TCP port 80 – HTTP server. I connected a computer to the MiniToy wifi network and then hit http://192.168.0.100 (the IP of the printer) with a browser. I was presented with a HTTP Basic authentication prompt. I haven’t had time to try to brute force this and would appreciate if anyone with info to share this with me.
Sorry, kid’s crying again. 🙁 Gotta go. Once I have more updates on my progress on the two ports above, I will write part 2 of this blog.