Update: 2020/12/01 for macOS Big Sur, please follow instructions here.
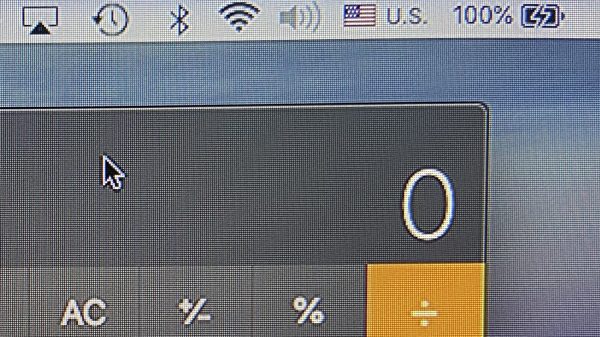
If you have a MacBook, iMac, or Mac mini and use a HDMI cable to connect to a Dell monitor, you may notice that the image seemed over-processed as if it was over-sharpened – I noticed this when I connected my MacBook Pro to my Dell U2913WM.
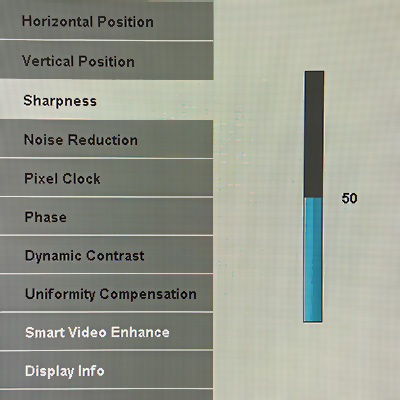
I found a setting in the monitor to turn the sharpness down from the default 50 to 0. It improved the image quality some, but when I switched back to my Mac mini (which was connected via DisplayPort), the quality was still better.
Sharpness setting in the Dell monitor; setting to 0 made it look better, but still does not match a direct input via mDP
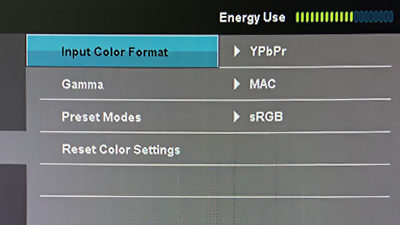
It turns out that this is caused by the Mac sending video signals as YPbPr (component) instead of RGB. This can be seen in the Color Settings menu.
Color Settings showing Input Color Format as YPbPr
Why does this happen? When a HDMI display is connected, the display’s capabilities are negotiated using what is known as an EDID. For some reason, Apple/Mac decided to default to YPbPr, and there’s no way for us to select/force RGB.
I found this blog, which also took a reference from another blog comment. TL;DR, download a small Ruby script and run it. The details are in those blogs, but I’m just writing it here for my own future reference.
Steps:
Run the Ruby script. It will generate a folder with a file, e.g. DisplayVendorID-10ac/DisplayProductID-4080
Reboot your Mac in recovery mode (hold down Command+R)
Copy the file to /Volumes/Macintosh\ HD/System/Library/Displays/Contents/Resources/Overrides
If the folder exists, copy the file into the folder.
If the folder doesn’t exist, copy the entire folder.
If the file already exists, make a backup before overwriting it.
Reboot, and reconnect your display.
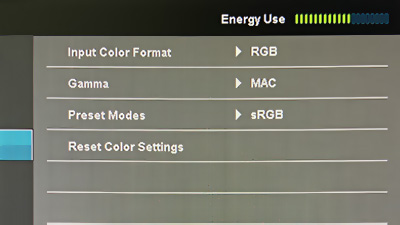
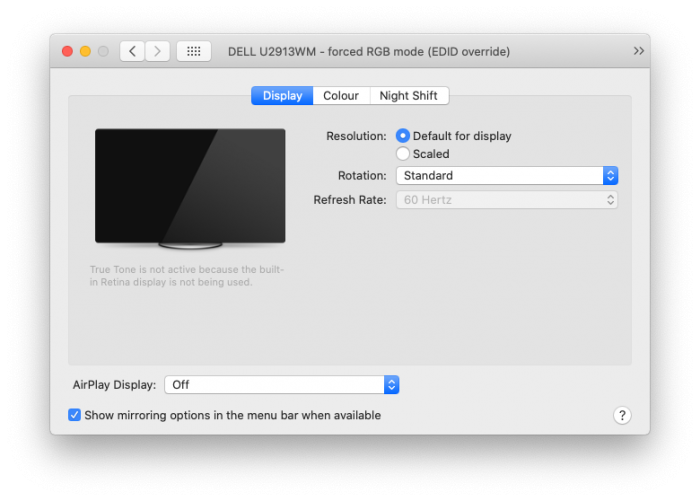
Color Settings showing Input Color Format as RGB after reboot
The difference is immediately noticeable. (I also had to restore my sharpness back to default: 50.)
Displays in System Preferences showing EDID override.
The second generation 2010 MacBook Pro 15″ (MacBookPro6,2) with the Intel Core i5/i7 is arguably one of the best MacBook Pros Apple ever made, bar a few issues. These aluminium unibody MacBooks were the first to have built-in batteries which gave it a much larger battery with incredible battery life, but still had user-replaceable SATA drives and RAM. The battery was also a replaceable component and not glued to the case. Till today, the screen, keyboard and touchpad on my 2010 MacBook Pro 15″ still beats most Windows laptops on the market – bear in mind this laptop is now 10 years old and has traveled the world with me.
After the 2010, MacBook Pros started going downhill: Late 2nd gen (2011) MacBook Pros were riddled with AMD GPU problems. 3rd gen (2013) “Retina” models had memory soldered on the board and had massive Staingate issues. 4th gen (2016) MacBook Pros had only USB-C ports, an unreliable keyboard with the butterfly mechanism, and a bunch of other issues such as thermal throttling.
In 2016, I upgraded to a new MacBook Pro Retina 15″ and was very hesitant to sell this old workhorse away, so I kept it as a spare which I used occasionally at home or when travelling. Unfortunately sometime around 2018 (I think) the laptop started to crash/freeze randomly: It seemed to be a GPU heat-related issue because it would crash when I ran something GPU intensive, such as AutoCAD Fusion. I was able to throttle the GPU, or force the laptop to use only the built-in Intel GPU, and it solved the problem – but not for long.
Thinking this might be a problem with the old, hardened, and poorly applied thermal paste, I pulled the heat sink apart and applied a new coat of thermal paste only to make it worse: this time macOS would get stuck when booting up. Turns out both my Intel iGPU and nVidia dGPU are having trouble and I have no idea why – maybe I flexed the motherboard ever so slightly while dismantling it and knocked some solder joints loose? Ugh.
So I decided to go down the path of installing another OS. Should I install Windows? That’s blasphemy.
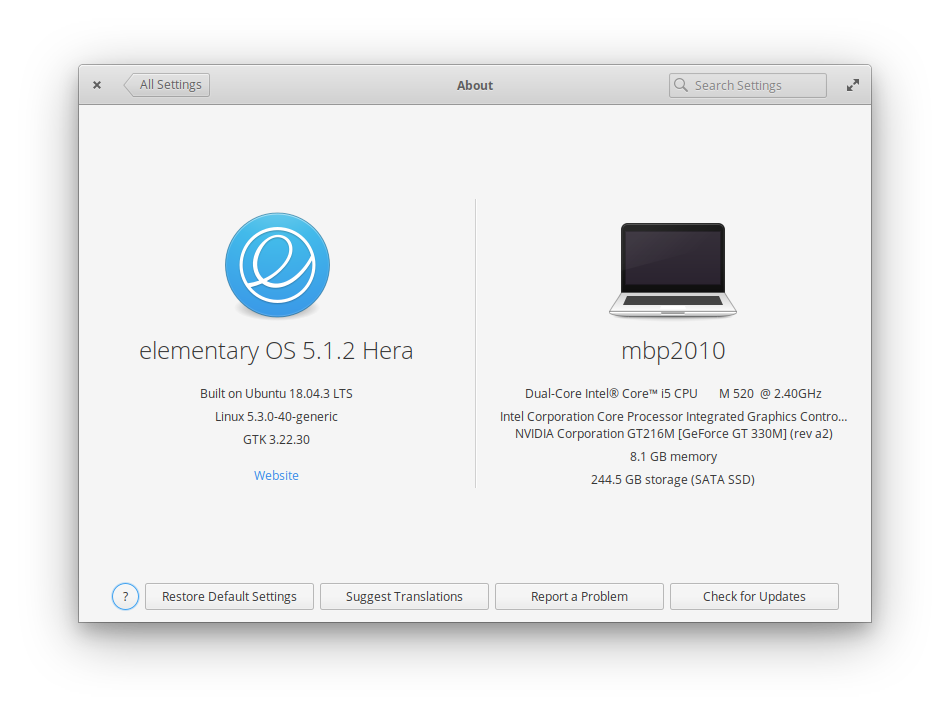
I decided to install Linux. I installed Elementary OS (5.1 Hera) and I am loving it so far.
Elementary OS 5.1.2 Hera on MacBook Pro 2010
Some “daily” apps I am running in Linux:
Google Chrome (duh!)
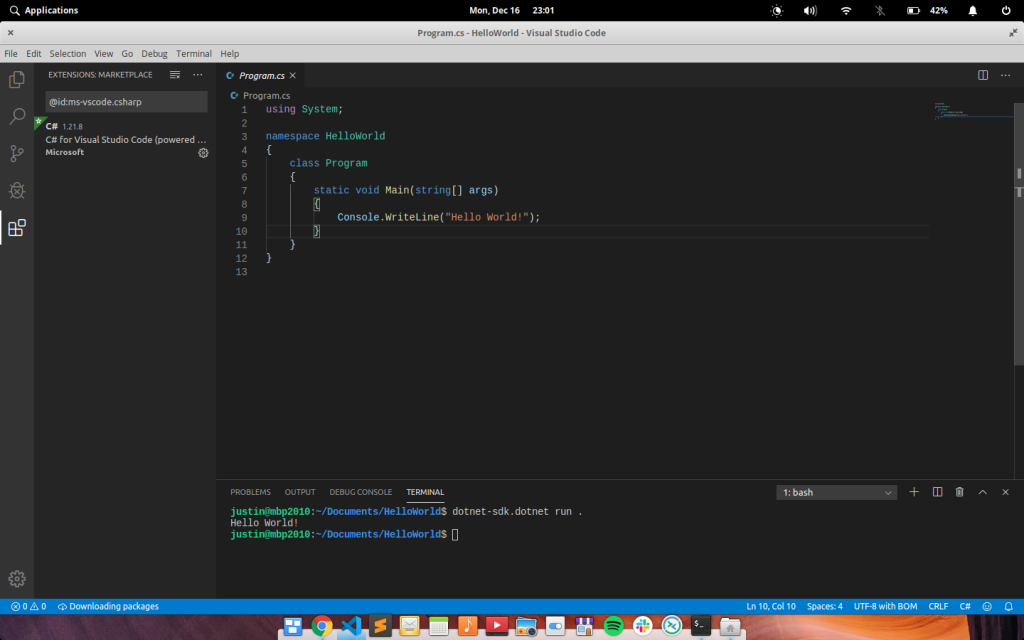
Visual Studio Code
Sublime Text
Insomnia (REST client)
Mailspring (Email client)
Remmina (RDP client)
Dropbox
Zoom.us
Skype
Spotify
VLC
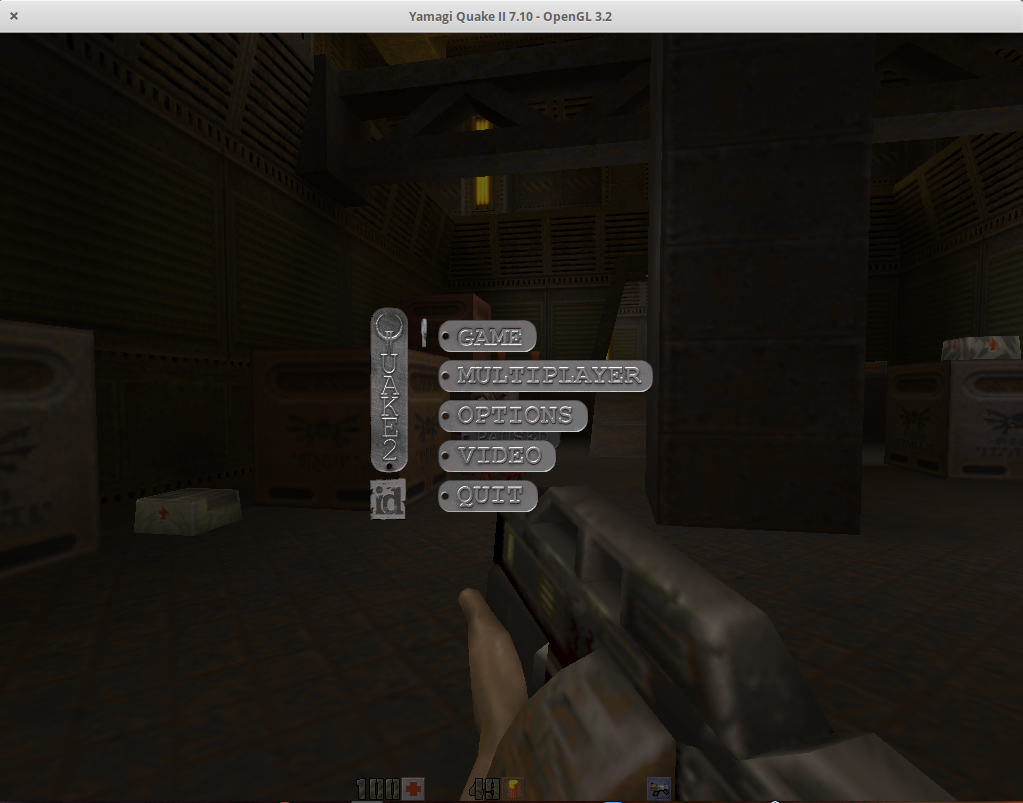
Quake 1, Quake 2, Quake 3 Arena, Quake 4
Visual Studio Code in LinuxQuake 2 – my favorite FPS of all time – in Linux
The rest of this blog is more of a documentation for myself, but you can reference what I have done here if you want to get your MacBook Pro 15″ 2010 with a bad dGPU or iGPU going with Elementary OS.
Booting my MacBookPro6,2 (15″, Mid 2010) with faulty GPUs* took a very long time and system momentarily freezes, with lots of errors containing the phrase flip_done timed out. Adding nomodeset or i915.modeset=0 at the end of the linux line in GRUB would allow the MacBook to boot fine using just the nouveau drivers.
* It’s kind of weird because the initial freezing/kernel panic in macOS seemed like a problem with the nVidia GT 330M dGPU, but now I am convinced my fucking around with thermal paste (or flexing the motherboard ever so slightly while doing so) might have messed up both the Intel i915 iGPU and also the nVidia dGPU, that’s why macOS wouldn’t even boot now.
This is very unusual because the known issue this model year has is a bad voltage regulator for the framebuffer. This is not the same problem as the 2011 models which had bad solder joints for the AMD Radeon dGPU.
It is also worth noting that installing the official nVidia drivers (nvidia-340) would cause Linux to freeze. It turns out that only the open source nouveau driver worked fine.
The FIRST problem actually manifested itself when booting the Elementary OS USB installer – it would freeze for several seconds, work for a few seconds, then freeze again, making it unusable. This seems to be a bug in the i915 driver’s Direct Rendering Manager (DRM). I found some old articles with similar errors (flip_done timed out), but none of the suggestions fixes.
The eventual fix would be to append nomodeset or i915.modeset=0 in GRUB when booting the installer.
After the installation, we will need to make this permanent by editing /etc/default/grub:
These sets the PCI registers to enable VGA support on the PCI Express X16 bridge (00:01.0), and also to enable bus-mastering on the nVidia GT216M (01:00.0).
Run sudo update-grub to apply all the above changes to /boot/grub/grub.cfg.
sudo update-grub
Now, reboot. The system should boot up fine. However, X11 is not using the nouveau driver at this point and is using the modesetting driver instead. This isn't a big deal if you don't need that much graphics power, but the I am also having trouble with the system waking up from sleep.
Here's a simple script that you can run to find out. It will print the driver in use. (I got this script from somewhere but I lost the reference/link.)
#!/bin/bash

if [ -z "$1" ]; then
    logfile=/var/log/Xorg.0.log
else
    logfile="$1"
fi

sed -n 's@.* Loading .*/\(.*\)_drv.so@\1@p' "$logfile" |
    while read driver; do
        if ! grep -q "Unloading $driver" "$logfile"; then
            echo $driver
            break
        fi
    done
By default, Elemetary OS did not configure X11 optimally and lets it run with defaults. This would let X11 run in the best compatibility mode on most systems but results in X11 not using the nouveau driver.
To resolve this, we need to generate an /etc/X11/xorg.conf file.
Hit Ctrl+Alt+F1(+Fn) to drop out of X11 to terminal mode. Login and run:
sudo service lightdm stop
sudo Xorg -configure
At this point, Xorg configuration would quit with a complaint:
Number of created screens does not match number of detected devices.
At this point, you will find a newly generated file /root/xorg.conf.new.
Edit the file, and delete one of the MonitorN, ScreenN and CardN entries. For my case, Monitor/Screen/Card0 are for the Intel i915 which I do not want, and Monitor/Screen/Card1 are for nouveau, so I deleted Monitor/Screen/Card0.
Move/copy the file to /etc/X11/xorg.conf:
mv /root/xorg.conf /etc/X11/xorg.conf
Restart lightdm (or reboot):
service lightdm start
X11 is now using nouveau. As a bonus, sleep/wake also works.
To conserve power, I also switched the dGPU to use the lowest clock speed.
When running with the Nvidia dGPU using the nouveau drivers, my battery life is severely affected. So as a bonus, I also tried running Ubuntu 18 LTS on this machine and surprisingly the Intel integrated i915 worked fine. I thought Elementary OS 5.x was based on Ubuntu 18?
Anyway, by disabling the dGPU, power draw can be reduced to around 15W idle versus 20-25W on the dGPU.
The magic trick here is to set some registers to disable the dGPU completely and to also switch the display to use the iGPU otherwise all you get is a black screen after switching off the dGPU.
Edit /etc/grub.d/10_linux, at around line 156, insert these before insmod gzio. (Taken from this reference.)
echo "        outb 0x728 1" | sed "s/^/$submenu_indentation/"
echo "        outb 0x710 2" | sed "s/^/$submenu_indentation/"
echo "        outb 0x740 2" | sed "s/^/$submenu_indentation/"
echo "        outb 0x750 1" | sed "s/^/$submenu_indentation/"
echo "        outb 0x750 0" | sed "s/^/$submenu_indentation/"
Edit /etc/default/grub and these to the following variable:
Run sudo update-grub to apply all the above changes to /boot/grub/grub.cfg.
Untested: By default the MBP boots with display switched to the dGPU, and if the above are set, there will be no display until the iGPU driver is loaded, so the following steps are required to set the EFI variable to tell the MBP to use the iGPU at boot time (at the stage of the Apple boot chime):
mount -t efivarfs rw /sys/firmware/efi/efivars/ # make sure efi is mounted

printf "\x07\x00\x00\x00\x01\x00\x00\x00" > /sys/firmware/efi/efivars/gpu-power-prefs-fa4ce28d-b62f-4c99-9cc3-6815686e30f9
(Note: This did NOT work on my MBP, the EFI is not writable for some reason, and the files have immutable attribute.)
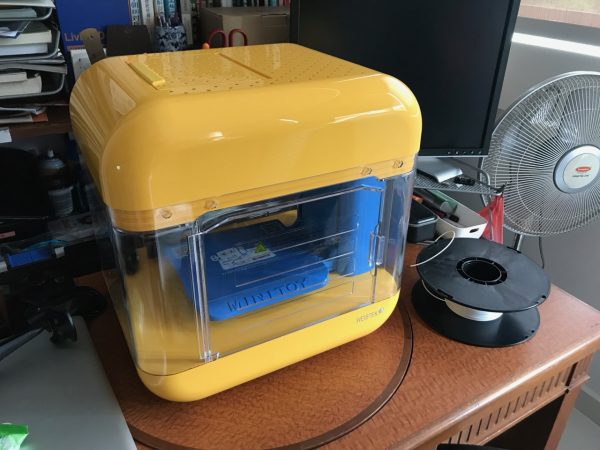
I bought a MiniToy 3D printer a month ago (June 2019) from an online seller. This printer was part of a Kickstarter Campaign in 2016 and delivered early 2017. I believe the seller bought it and didn’t know what to do with it and kept it in the box for 2+ years.
I did not do much research before I bought the printer, thinking I could maybe do something fun at home with the kids. Boy was I in for a ride.
In case you are looking for the specs of this printer (and I spent time looking for detailed information and it is no where to be found, not even on the manufacturer’s website which only has basic info) here it is: –
Technology: FDM
Extruder: Direct extrusion, 0.4mm
Auto bed-levelling: Yes, on each print
Print volume: 170 x 130 x 140 mm
Print speed: 40 to 150 mm/s
Layer resolution: 0.1 – 0.2 mm (other site states 0.15 – 0.3 mm, not sure which is correct)
Max. temperature: 250 degrees C*
Filament: 1.75mm (non-proprietary)
Heated bed: No
Enclosure: Yes
Data interface: Wifi, SD card
External dimensions: 375 x 305 x 375 mm
* I made this up because I didn’t print beyond 250 deg C
Back in 2016, this printer might have been quite state-of-the-art. But as of 2019, you can get better 3D printers for the retail price (US$299) of the MiniToy.
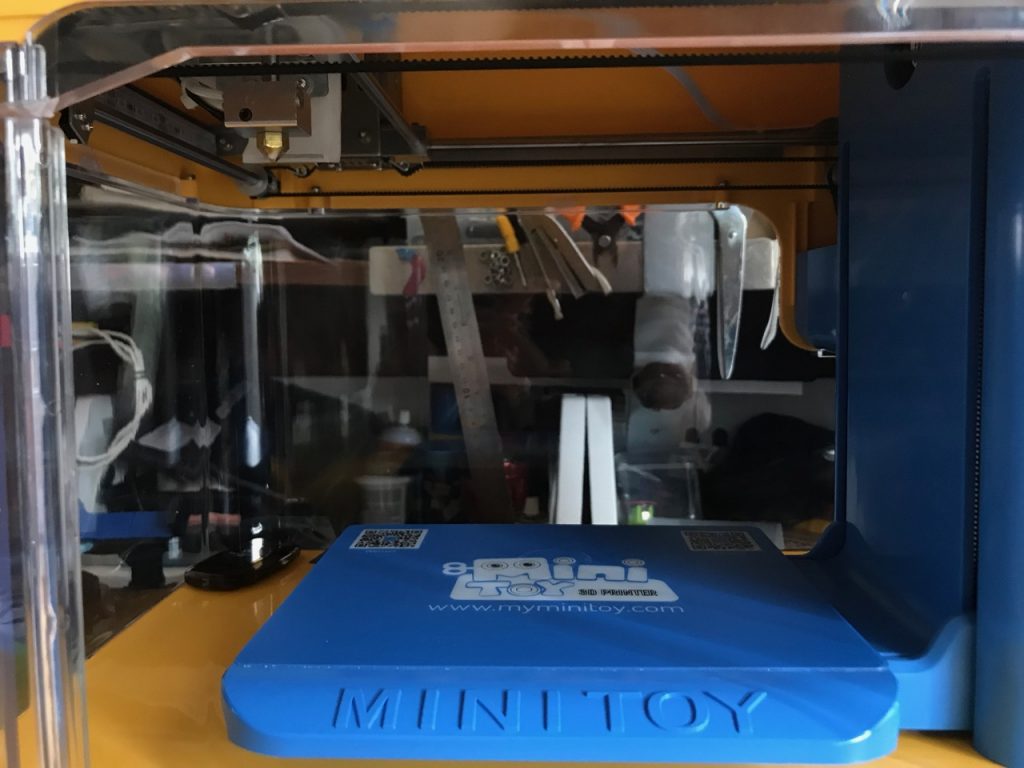
Looking inside the MiniToy – you can see the print head on top.
This is not my first 3D printer; I already have a Creality Ender 3 which I assembled from a kit last year. Having experience with assembly, troubleshooting, and also having some spare filament and tools, getting the MiniToy printer set up was OK, but if I was a complete newbie, this printer would have been a nightmare.
Initial issues
If you’re not keen on reading the setup issues, skip straight to the next section on “Hacking” the MiniToy”!
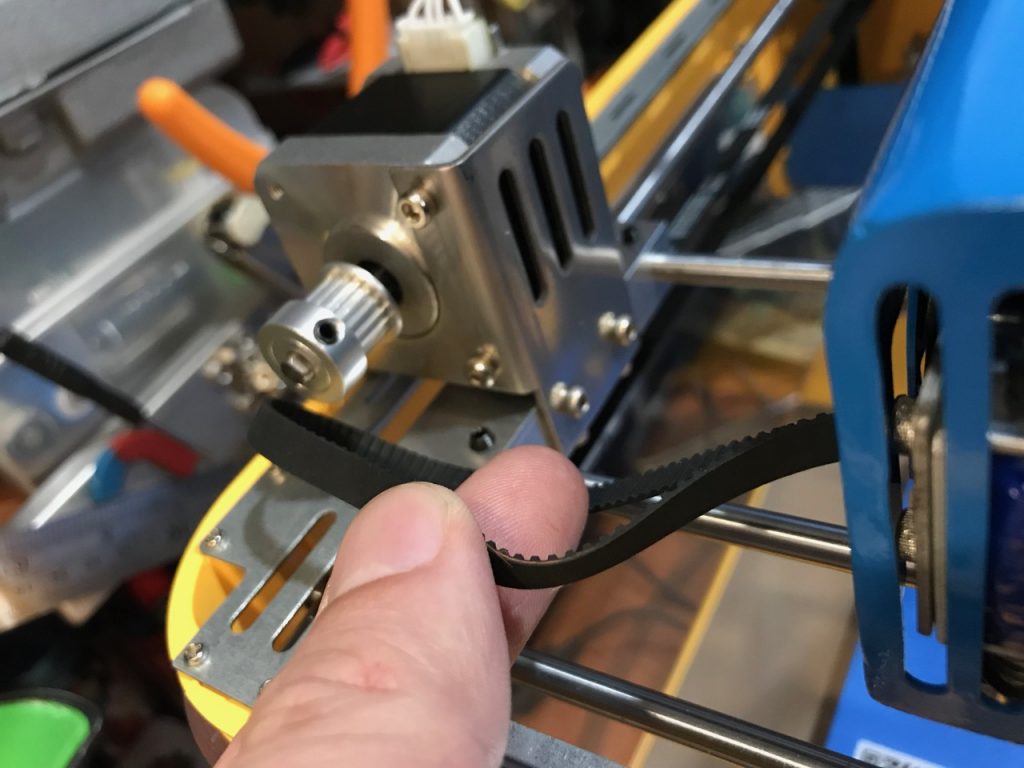
Dangling belt. When I first unboxed the printer, I found the Y axis belt dangling off the roller. This was caused by a poorly designed metal bracket holding the Y stepper motor. The bracket probably bent during shipment, or after two years in storage under belt tension. This turns out to be a common issue as some has reported in a forum thread.
The fix for this is to bend the metal bracket back so that it sits straight.
This belt was dangling right out of the box. Stepper motor (seen behind) had a bent bracket, already straightened in photo.
Dumbest power button, ever. This totally annoys me. They used a light-sensor as a power button! So whenever you wave something too close to the power “button” (sensor) on the left of the printer, it powers on or beeps (if it is already on). It is so fucking annoying because I regularly place things beside the printer and then it emits a loud beep and turns on. I have not actually tested if it would actually turn OFF while printing because you have to hold your finger for maybe 1-2 full seconds to turn it off. Because of this, I usually unplug the printer after use.
SD card slots upside-down. Do not follow the diagram on the side of the printer – you will most certainly jam your SD card or break the slot. The card goes in upside down, i.e. the label on the SD card faces down and the metal pins faces up.
Disintegrating filaments. I also found that the filaments that came with the printer had turned so brittle they were completely unusable even though I had just removed them from their vacuum-sealed bag. The filaments would break into multiple bits while you feed into the printer, and would require me to remove the feed tube that leads to the print head to remove the broken bits. I presume it was because they had been sitting for two years. Of course the fix for this would be to use a new roll of filament – I used my existing HatchBox filament which I bought from Amazon.
Useless plastic scraper. It comes with a plastic scraper that will NOT get anything off. Do yourself a favour and buy a metal paint scraper.
Fan noise. Yes this printer makes quite a bit of noise from the fans, even at idle! I am not sure why it would need to run fans at high rpm when doing nothing. Then there is the print cooling fan – it rubs. There is a very very tiny screw that is meant to simply position the fan, not tighten it down, and any slight amount of torque on that screw would break the fan bracket and then it would rattle in the blue housing.
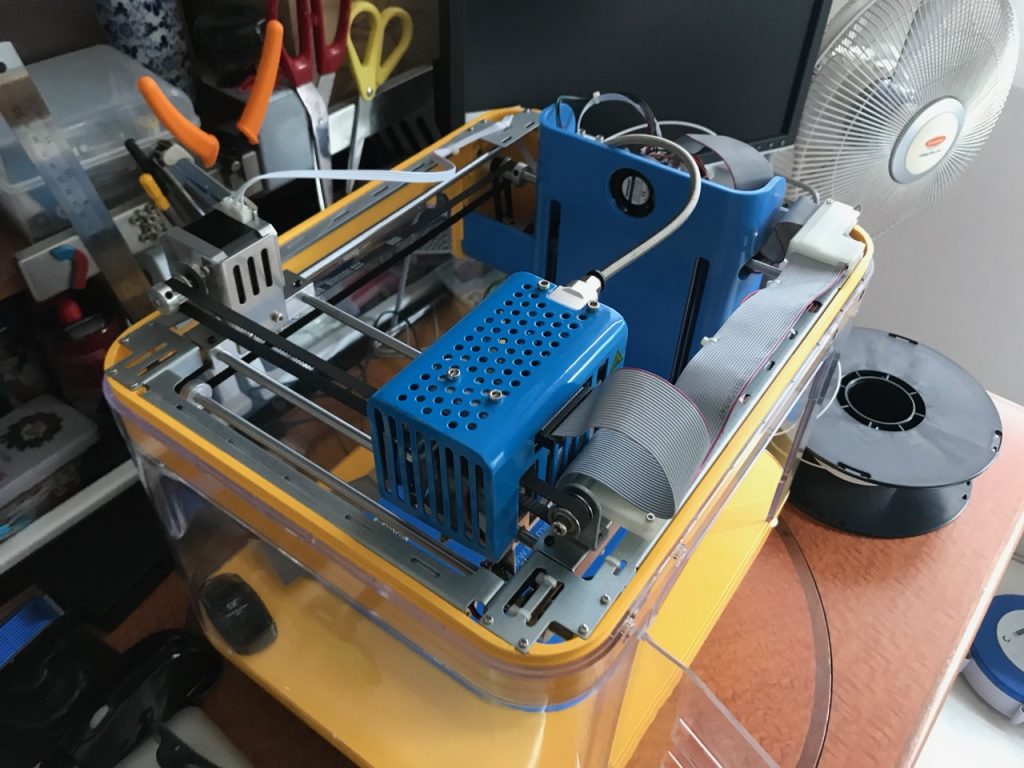
Top cover of the MiniToy open. Shows nothing much really – the print head, extruder, fans, etc. are all enclosed in a blue housing. You can also see the filament feed tube going into the print head.
Crappy app is the only app. This printer can only be accessed through the app, although I may have found a way to bypass it – more on this later. To get to the printer, you will have to download the app, then connect your phone to the printer’s wifi network (MiniToy_xxxx) with password 12345678.
The app is clunky to use and looks one-off. You can upload your own .gcode files to the SD card, but you will still need to use the app to print it. Another blog actually documented the process to print your own .gcode files.
Calibration, or mis-calibration? The app has a calibration function and I do not understand how it works. As with most Chinese made software, the English instruction/description sucks. It took a bit of fiddling – or I would actually say guesswork – to find the correct setting.
How I thought it works: For some reason during the calibration process it raises the bed and then leaves a super wide gap from the print head. I thought what I needed to do was to get the bed to almost touch the print head with a “paper-thin gap” – similar to how I would have done a manual bed levelling for my Ender 3 – but when I did that, the printer was slamming the print bed into the head.
How it actually works, after lots of agony: You basically let it do it’s thing, save, and then go do a test print. If the print does not stick well because it’s too far from the bed, redo the calibration, raise the bed 0.1 mm and retry print. If the print head seems to be rubbing on the print bed, then redo calibration and lower the bed by 0.1 mm and retry print. It’s a slow and painful process.
Auto bed-levelling accuracy. Once I started printing, I also found that the auto bed-levelling measured one quadrant of the bed 0.1mm too high so my prints do not seem to stick in that area (this is where manual bed levelling may be better). Turns out this was because the bed-levelling mechanism had some free play in it which is resolved by tightening some nuts, straightening a slightly bent piece of metal for the arm holding the switch/sensor and maybe adding a bit of tape to the base of the print bed.
What’s with all the bent metal?
“Hacking” the MiniToy
I refrain from using the word “hacking” because I don’t think this is really hacking, but you know – buzzwords gets clicks.
Naturally, I got fed up with the crappy app, so I wanted to find out if I could interface directly with the MiniToy from a computer, or print from something like OctoPrint. Here are few discoveries I have made.
TCP port 8888 – serial interface. I found this by capturing packets from my iPhone to the printer, and saw that the app communicated with the printer on port 8888. The data stream looked like raw serial commands. I believe it is highly possible to send gcode to this port to get the printer to print directly without depending on the SD card. I have yet to test sending a print through this port; however I would also like to highlight that this port is unauthenticated, and since the wifi password is also standard and can not be changed by the normal user, this is actually a security risk, i.e. anybody within wireless range can hijack your printer, and can, for example, cause a fire by overheating your printer.
… this is actually a security risk, i.e. anybody within wireless range can hijack your printer, and can, for example, cause a fire by overheating your printer.
TCP port 80 – HTTP server. I connected a computer to the MiniToy wifi network and then hit http://192.168.0.100 (the IP of the printer) with a browser. I was presented with a HTTP Basic authentication prompt. I haven’t had time to try to brute force this and would appreciate if anyone with info to share this with me.
Sorry, kid’s crying again. 🙁 Gotta go. Once I have more updates on my progress on the two ports above, I will write part 2 of this blog.
We’re losing talent, and I think blue collar workers play an important role in our economy to produce quality work. Keeping local blue collar talent costs money, and will drive up costs of living some, but that is how things will go, especially if we want to continue to enjoy a good quality of life. People like aircon technicians, car mechanics, plumbers, etc.
If we ignore this segment of people, sooner or later we will suffer. They say automation will replace these jobs. That’s bullshit. Robotics and automation has long ways to go before it can replace your plumber or aircon technician or mechanic. These are skilled work that is almost like the work of art. Why does the BMW factory continue to employ so many workers to build mass produced cars like the 5 series? Watch this video to understand.
I believe one day — and the day will be soon enough — that a plumber is paid more than a developer.
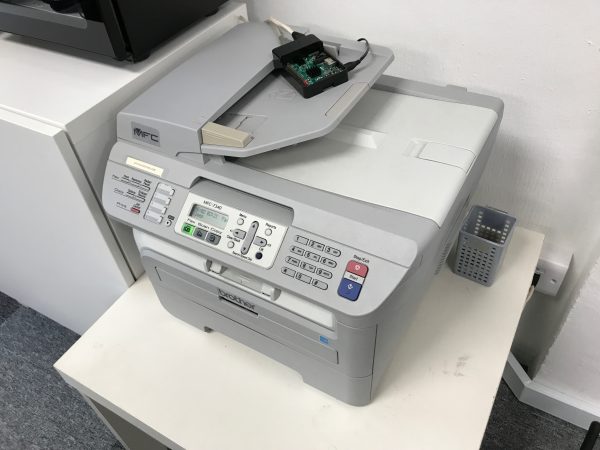
There are numerous articles which step through how to configure CUPS to turn an RPi into a print server but I bumped into a problem because there are no drivers available for my Brother MFC-7340 printer for ARM (only available for i386) and I was not keen work on the source code/compile/etc.
The quick fix is to turn it into a RAW (a.k.a. HP JetDirect) print server.
Install CUPS
sudo apt-get install cups
Configure CUPS
Edit /etc/cups/cupsd.conf.
Scroll down until you see the Listen configuration directive. Comment it out. This will make CUPS available over the network.
# Only listen for connections from the local machine
# Listen localhost:631
Port 631
Look for the <Location /> directive, and add Allow all (or a specific list of IPs, if your local network is not secure) to allow access.
<Location />
  # Allow remote access...
  Order allow,deny
  Allow all
</Location>
Save the file and restart CUPS.
sudo /etc/init.d/cups restart
Configure Printer
Now connect your printer to the USB port on the RPi.
Now you should be able to use a browser and go to https://<ip.address.of.rpi>:631/admin to reach the CUPS web UI.
Under Printers, click Add Printer.
You should see your printer appear under Local Printers. Select it and click Continue.
You can accept the default names on the next screen and click Continue.
You do not need to enable Share This Printer.
Make a note of the printer Name. You will need this later.
In the next screen, click on Select Another Make/Manufacturer.
Select Raw and click Continue.
Select Raw Queue (en) and click Add Printer.
Install xinetd
sudo apt-get install xinetd
Configure xinetd
Edit /etc/services and scroll to the end. Add the following line:
jetdirect 9100/tcp
Create a new file /etc/xinetd.d/jetdirect and add the following, replacing Brother_MFC-7340 with your printer name configured in CUPS above.
service jetdirect
{
socket_type = stream
protocol = tcp
wait = no
user = root
server = /usr/bin/lp
server_args = -d Brother_MFC-7340 -o raw
groups = yes
disable = no
}
Save the file and restart xinetd.
sudo /etc/init.d/xinetd restart
Connect your computer
Now, go to your computer and connect to the printer. These are steps for Macs.
Go to System Preferences > Printers and Scanners.
Click on [+] to add a new printer.
Select IP
Address: <ip.address.of.rpi>
Protocol: HP JetDirect
Queue: <Blank>
Name: Enter a name of your choice here, e.g. Office Printer.
Use: Click Select Software and use the correct driver for your printer here.
You should now be able to print to the new printer on your Mac.
P.S. Sometimes you may need to connect your printer via USB to your Mac so that it installs the correct drivers first, then you can unplug the USB and select the drivers when configuring IP printers.