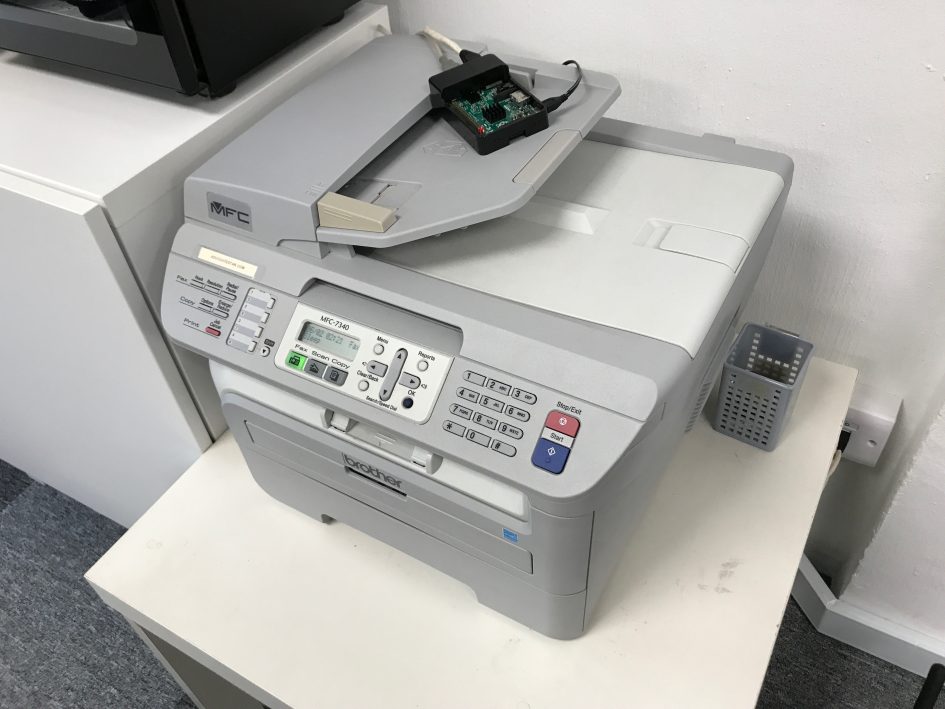
There are numerous articles which step through how to configure CUPS to turn an RPi into a print server but I bumped into a problem because there are no drivers available for my Brother MFC-7340 printer for ARM (only available for i386) and I was not keen work on the source code/compile/etc.
The quick fix is to turn it into a RAW (a.k.a. HP JetDirect) print server.
Install CUPS
sudo apt-get install cups
Configure CUPS
Edit /etc/cups/cupsd.conf.
Scroll down until you see the Listen configuration directive. Comment it out. This will make CUPS available over the network.
# Only listen for connections from the local machine
# Listen localhost:631
Port 631
Look for the <Location /> directive, and add Allow all (or a specific list of IPs, if your local network is not secure) to allow access.
<Location />
  # Allow remote access...
  Order allow,deny
  Allow all
</Location>
Save the file and restart CUPS.
sudo /etc/init.d/cups restart
Configure Printer
Now connect your printer to the USB port on the RPi.
Now you should be able to use a browser and go to https://<ip.address.of.rpi>:631/admin to reach the CUPS web UI.
- Under Printers, click Add Printer.
- You should see your printer appear under Local Printers. Select it and click Continue.
- You can accept the default names on the next screen and click Continue.
- You do not need to enable Share This Printer.
- Make a note of the printer Name. You will need this later.
- In the next screen, click on Select Another Make/Manufacturer.
- Select Raw and click Continue.
- Select Raw Queue (en) and click Add Printer.
Install xinetd
sudo apt-get install xinetd
Configure xinetd
Edit /etc/services and scroll to the end. Add the following line:
jetdirect 9100/tcp
Create a new file /etc/xinetd.d/jetdirect and add the following, replacing Brother_MFC-7340 with your printer name configured in CUPS above.
service jetdirect
{
socket_type = stream
protocol = tcp
wait = no
user = root
server = /usr/bin/lp
server_args = -d Brother_MFC-7340 -o raw
groups = yes
disable = no
}
Save the file and restart xinetd.
sudo /etc/init.d/xinetd restart
Connect your computer
Now, go to your computer and connect to the printer. These are steps for Macs.
- Go to System Preferences > Printers and Scanners.
- Click on [+] to add a new printer.
- Select IP
- Address: <ip.address.of.rpi>
- Protocol: HP JetDirect
- Queue: <Blank>
- Name: Enter a name of your choice here, e.g. Office Printer.
- Use: Click Select Software and use the correct driver for your printer here.
You should now be able to print to the new printer on your Mac.
P.S. Sometimes you may need to connect your printer via USB to your Mac so that it installs the correct drivers first, then you can unplug the USB and select the drivers when configuring IP printers.